Customize your Internet experience

Internet is, despite its downsides, a wonderful place. One of the reasons why I love it so much as a medium, is that HTML is so editable and approachable and the way browsers are implemented, you can change a lot of things to your own taste.
I have previously written about some customizations I've done on some services that I use and decided to spend this post talking about different ways you can run your own code to change how websites and web apps look and function.
The Basics of Modifying the DOM
Before we look at different ways to run our customizations, we need to talk a bit about how to make them. When a website or web application is rendered in a browser, it is represented as a Document Object Model (DOM). It's an interface to the HTML and CSS and it allows us (and the original app creator) to modify the HTML and CSS so that we can display different things on the browser.
This won't be an exhaustive 101 tutorial for Javascript nor DOM manipulation, just a few openers to get you started.
Example #1: Click a button when a button on keyboard is pressed
My first example is the one I find myself building most often: adding custom keyboard shortcuts to different functionalities on the website. I also like it because it's quite simple to do on any of these different ways.
Let's say that there's a button/div/span/any element that we want to click when we press left arrow key on our keyboard.
const toClick = document.querySelector('.buttonClass');

document.onkeyup = event => {
  if(event.code === 'ArrowLeft') {
    toClick.click();
  }
}
First we find the element by its class (here assuming there's only one element with that class; if there's more, you need bit more logic to find the correct one). Then we listen to keyup event and if the key being pressed was ArrowLeft, we trigger a click on the button.
With this base script you can add all sorts of different keyboard shortcuts by matching different elements to different key codes.
Example 2: Add custom styles
Second example is adding custom styling to specific text. Back in the day I built a Chrome extension that allowed users to specify names and then the extension would highlight their rows in tables to make it easier to find in long tables.
const table = document.querySelector('#longTable');
const rows = table.querySelectorAll('tr');

rows.forEach(row => {
  let cells = row.querySelectorAll('td');
  cells.forEach(cell => {
    if(cell.innerHTML.includes('Juhis')) {
      row.style = 'background-color: yellow';
    }
  })
});
Here we go through all the cells in a given table and if one of them contains the string "Juhis", we apply yellow background to the entire row.
Way 1: Bookmarklets
Earlier I wrote about a bookmarklet I built to add keyboard support to ON24 platform. To me, bookmarklets are a great and quick way to build something I only need occasionally like was the case with ON24: I might never give another talk on that platform but if I do, I don't have to reinvent the wheel. And since I wrote a blog post about it, I can find it quickly whenever I need it (a special benefit of writing a blog!).
The way bookmarklets work is that you can define any bookmark URL to be type of Javascript and when it's clicked, it executes that code. Since the entire application logic needs to fit into a URL, it's not the best way for more complex functionalities. In Firefox, the limit 65536 bytes.
The URL needs to be in a form of javascript:(function() {})() with the contents of your code inside the function body of the IIFE.
The way I build bookmarklets is that I usually write the code in my normal Javascript coding environment (I use VS Code or vim depending on the mood) and then just join the lines. Since I only use bookmarklets for really simple things, I don't usually minimize the code (and I think it's nicer also for sharing the code because it's easier to read and thus see what the bookmarklet actually does).
If you do want to minimize your code, you can use tools like uglify-js on the command line or JSCompress in the browser.
To share your bookmarklet on a website, just create a link with the javascript code as the href attribute with instructions for the user to drag'n'drop it to their browser's bookmark bar.
One great bookmarklet I ran into recently is Replace Trending that hides Twitter's often depressing trending list and replaces it with more positive messaging.
One of the limitations of bookmarklets is that they only get run once when clicked. So you cannot build automated functionality that gets loaded whenever you navigate into a website. For that, we need new tools.
Way 2: Browser Extensions

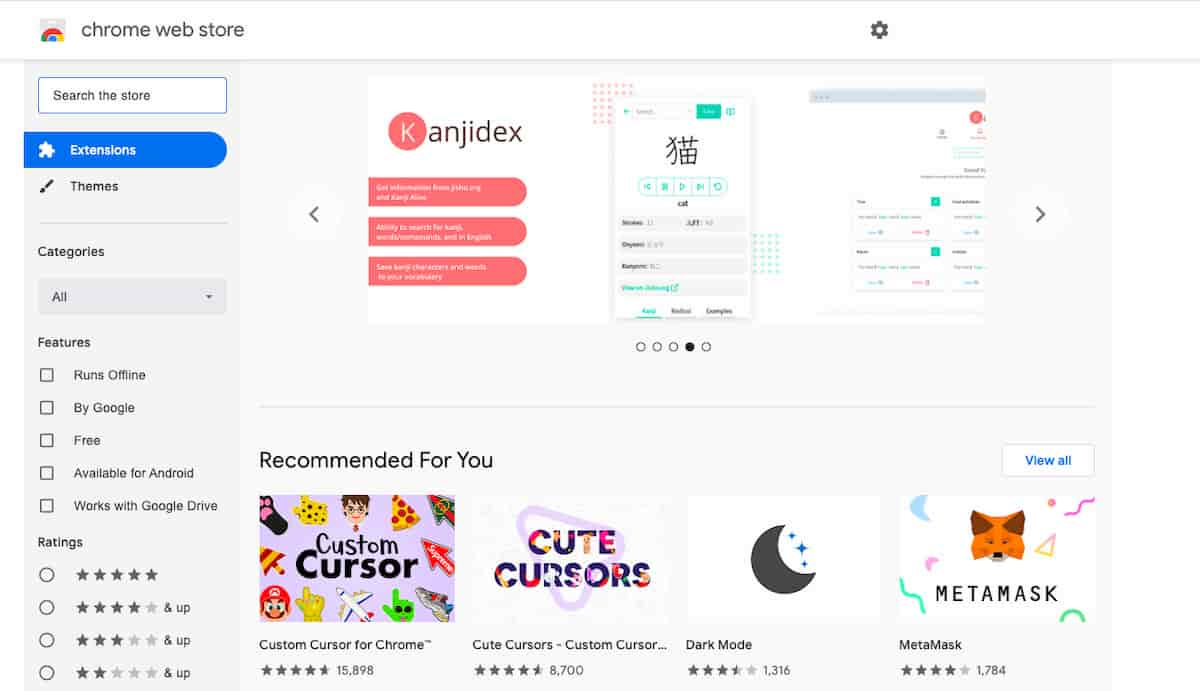
One (rather large) step forward from bookmarklets are browser extensions. It's quite likely that you are currently browsing this site with multiple ones already installed. Things like password managers and ad blockers are bigger tools that are used as extensions but you can also have smaller utility tools like Fonts Ninja that gives you easy access to see what fonts are used on a website.
Software developers also use a selection of browser extensions to enhance their workflow. Extensions like React Dev Tools or Redux DevTools are a must-have for anyone working with React or Redux applications.
Extensions also have a special place in my heart. I've built one to blur out old Youtube videos from the feed as well as two to add fullscreen & mute keyboard functionality to Viaplay and TeliaTV. In my past I also built a small niche tool for table hockey players.
Google has decent documentation for anyone who wants to build one for Chrome and Mozilla has similar for Firefox.
One thing I really like about extensions is that they can either be passive (always on) or active (when clicked), you can limit the use space for certain domains and you can add configuration/settings and provide much larger functionality than you could with bookmarklets.
Once you've built a custom extension, you can publish it in the store or load it locally. For my small tools, I have mostly just built them as local tools and published the code on GitHub so others can also enjoy if they need but haven't published them in the stores.
Way 3: Tampermonkey
Tampermonkey is a user script manager which allow users to write small scripts (like we've done with bookmarklets) and then run them on specific websites. Rather than running individual bookmarklets, you can gather together multiple scripts (written by others as well as yourself) into one place and configure and run them with Tampermonkey.
It also comes with a built-in editor so you can write your scripts directly inside it.
I have not used Tampermonkey much as I prefer to work with either bookmarklets or extensions but back in the day Greasemonkey (which is similar but only available for Firefox) was everywhere among the Internet user base. These types of user scripts are often popular with people who are technically savvy but not developers so they can find and install scripts they need without having to make them themselves.
Way 4: Running a script in the console
I left this as the last one because it's not a very robust but it's something I do when I just need to one-off something. Instead of building the Javascript functionality into bookmarklets, extensions or user scripts, you can run the code directly in the browser's dev tools JS console.
To learn how to access the developer tools, see docs for Firefox and Chrome.
The downside is that you have to store the code somewhere on your computer (or in your blog!) and copy-paste it every time you need it. The upside is that it's super flexible and you can customize the code to be run every time you run it.

Sign up for Syntax Error, a monthly newsletter that helps developers turn a stressful debugging situation into a joyful exploration.