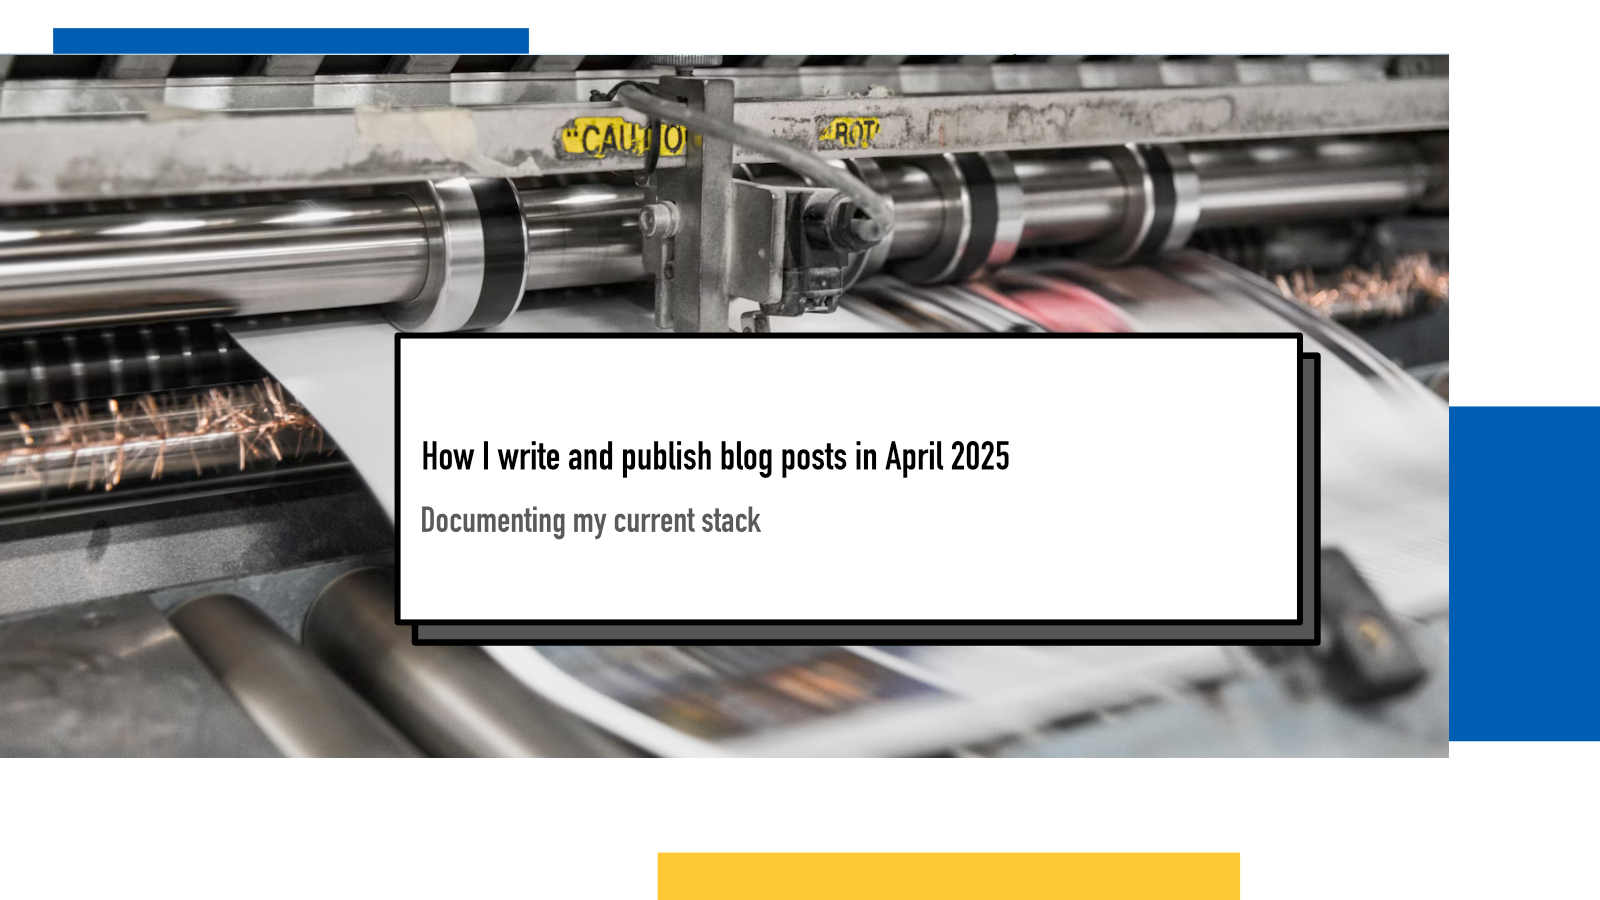
How I write and publish blog posts in April 2025
Apr 23rd, 2025
Code in this blog post was written with versions: Node: 23.3.0
I’ve written a bit about my website’s stack and tooling over the years and I figured now would be a good time to document how my current setup works from start to finish. I’m focusing on the flow of writing and publishing a blog post which is the most frequent activity I do on my site. For any technical development, it’s “write new code, push to github, merge PR, done”.
Let’s start with an overview and then get into individual steps in more detail.
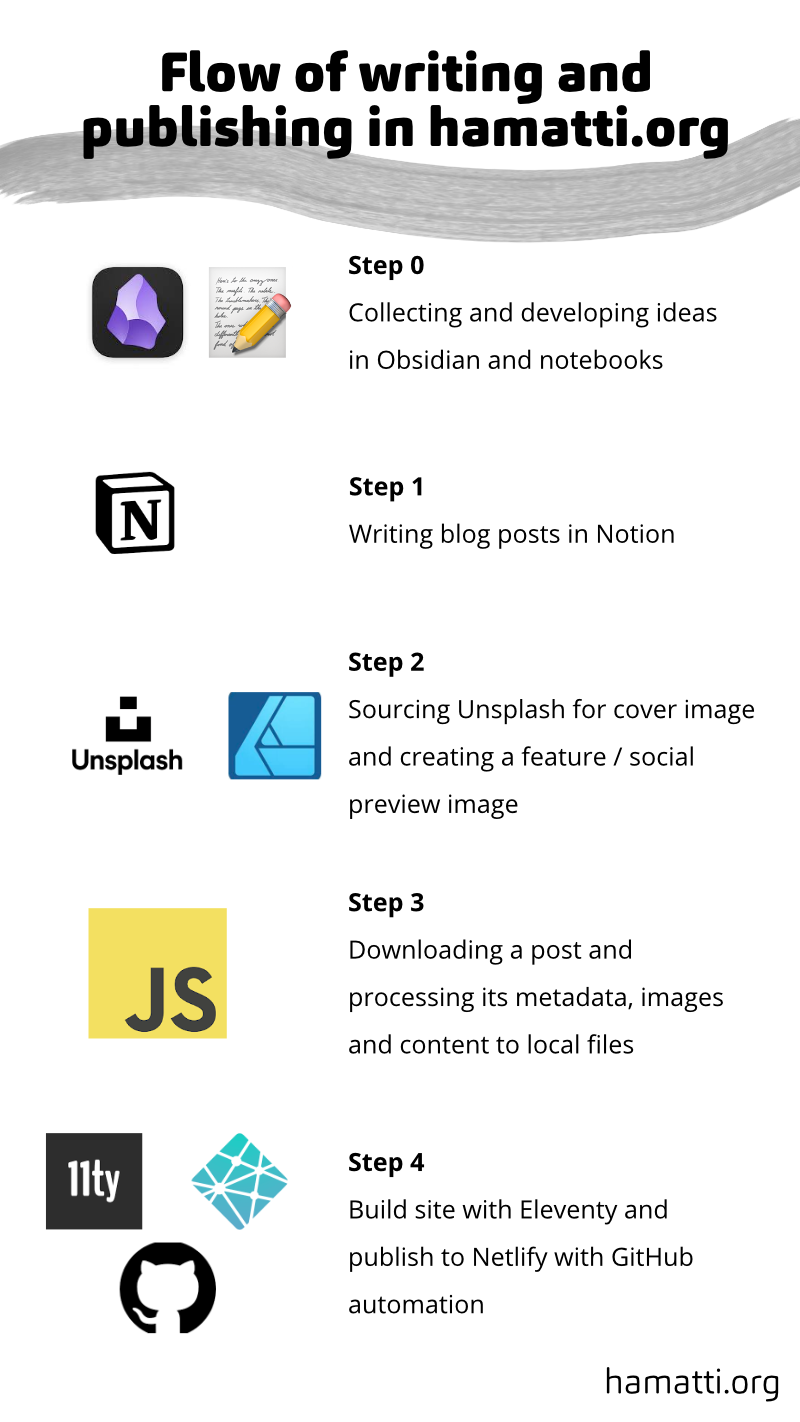
Step 0: Collecting and developing ideas
Before I sit down to write, most of my blog posts start their life as a note in my digital notes system. Today, I use Obsidian for my notes because it’s local-first (no dependency to a 3rd party service), Markdown-based (no vendor-lock to Obsidian + I can run shell scripts against my notes) and I like the UX.
In Obsidian, I always keep a note titled [CURRENT YEAR] Blog Calendar as a pinned note so it’s always there for the reach. This note has two sections: ideas and calendar. In the ideas section, I jot down thoughts for potential blog posts as they pass me. Sometimes it’s just a title, sometimes I do bullet points of the main ideas and sometimes I link to other resources that inspired me. When I have enough ideas for something, I create a separate note where I gather resources and my own thoughts and there the ideas start to marinate and some of them graduate into blog post drafts there.
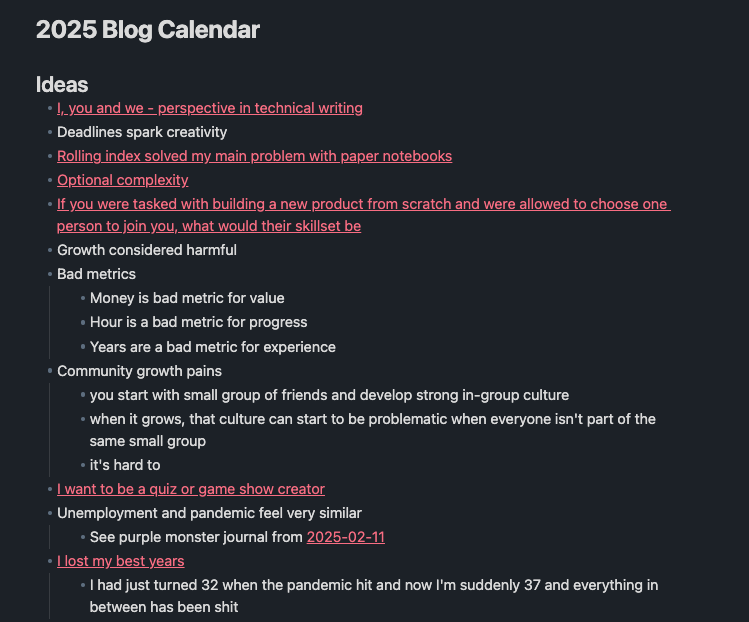
Building this idea bank is an important part of my writing flow. In How long does it take me to write a blog post? I wrote about how my process has evolved into a system where I keep track of ideas and develop them in my notes and all of that is inseparable part of my blogging progress.
In the calendar section, I list all the weeks (as my goal is to publish something every week) and both keep track of what I have already written & scheduled or published and also what I plan to publish.
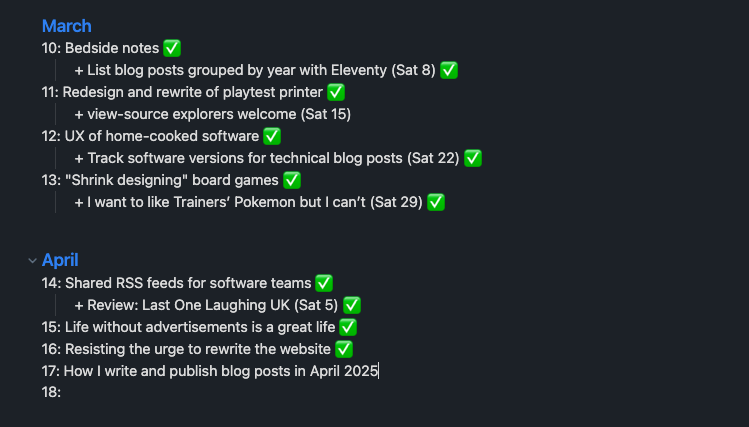
This helps me keep an eye on the future and to see what my current buffer (written but unpublished) looks like so I can adjust accordingly. I tend to aim to have at least couple of weeks of writing ready to go so if I have an extremely busy week or I’m sick, I don’t fall off of my weekly schedule.
Step 1: Writing the post
I use Notion as my CMS and I’ve been rather happy with it. I like the UX of writing there and I used to use it for my notes before migrating them over to Obsidian so these days Notion is only used for CMS.

To start a new blog post, I create a new entry to a database/table I have set up for my blog. What I really like about this setup is that I can write blog posts anywhere (usually with my iPad and keyboard in a pub) and I don’t need any access to my website setup (which I do have usually with my iPad + Raspberry Pi setup). I’m at my most creative when I’m not at home and I usually just do the finishing touches when I get to my desk at home.
Metadata
I fill in the title, slug and an estimated publish date. For tags, I use a multi-select field and I can create new tags on the fly directly when starting or finishing a blog post. If I introduce a new tag, I then need to add an entry to a JSON file in my Eleventy project so the website knows how to display that tag. For this blog post, no new tags were necessary.
I have bunch of other fields too but they are usually filled in at the end. Description is a short description that’s visible on the front page for the newest blog post and in a category/tags page. Draft I don’t really use because everything here is a draft. I just haven’t bothered deleting it. Feature image is the last thing I add, I’ll write more about it when we get there. Mastodon ID is an optional field. If I want to enable comments via Mastodon, I can make a post in Mastodon and then copy its ID here and Javascript on the blog page takes care of showing the post and its replies at the end of the post. Published is used for filtering in the database view: I have an “All posts” view and “In progress view” and the latter only shows this year’s posts that haven’t been published yet. It’s not used anywhere in the website side. Finally, Versions allows me to track used software versions for any code snippets.
Images
The main content of the note is then used for writing the actual blog post. When I add images, I use the Caption field for adding alt text (and then my integration script, more about that later, turns that into an alt property). This is because when I started using Notion, they didn’t offer any support for alt texts in images and when they finally did, they didn’t expose that field in the API responses. I don’t know if they do know but I’m happy with my ways for now so I don’t regularly go and check if things have improved.
Crucial: Notion is optional
I have posts in my project that have been written in code editor as Markdown and posts that have been downloaded from Ghost (my previous CMS) and Notion and they all live happily together. I’m very careful not to rely on any third party service so while I get benefits from writing in Notion, I can always write a blog post manually as a Markdown file and the reader will never know the difference.
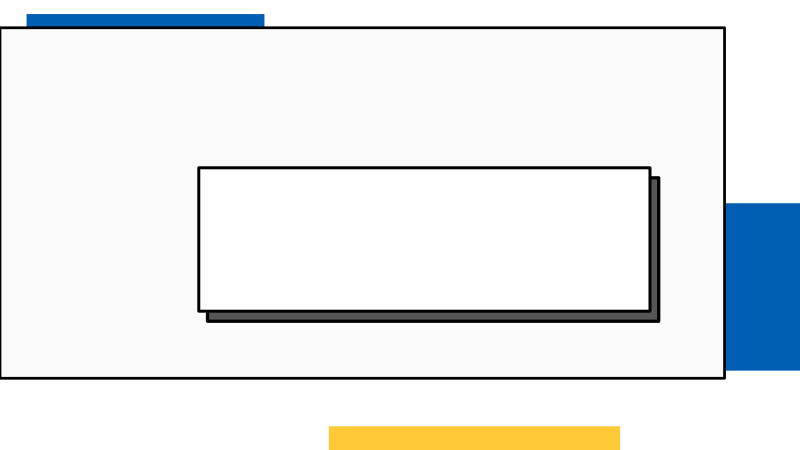
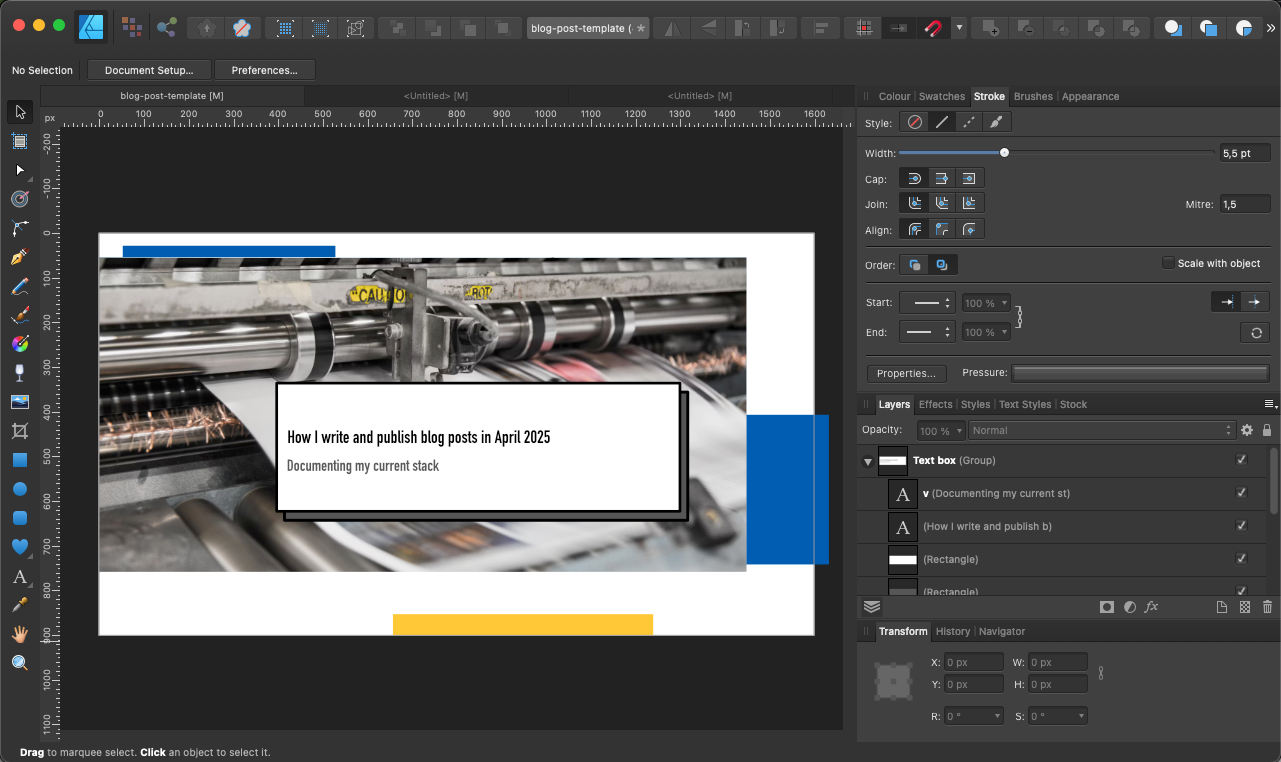
Step 2: Feature Image
I create a “feature image” for each of my blog posts to provide a consistent look and feel for my posts. I have an Affinity Designer template:
I use Unsplash for high quality, thematic photos as the background. They are just a tiny bit of splash to bring some character to the image. I use these images on the front page of my website, on top of each blog post and as the social media / chat preview image.
Since this blog post is about publishing and the tooling around it, I chose to search for photos using the query “print”. I like to match analogue, physical imaginary for when I write about digital processes.

Sometimes I then go back and forth with couple of photos as the template’s text box covers quite a lot of the image so I tend to favour pictures that have the interesting bits on the left and top. Once I’m happy with the background image, I fill in the title and a short one-line description to it in Affinity, save it and upload it to Notion.
Step 3: Fetching from Notion into my Eleventy project
A very common way to use CMS with a static site is to fetch the content at build time. I don’t do that, I’ve added a bit of manual friction to the process.
The main reason is that I want to eliminate my dependencies to third party services.
I also want a more granular control and occasionally I need to adjust the HTML manually before it goes out, especially if there are some types of content or styling that I cannot do in Notion.
- In my project folder, I create a new branch.
-
I run my custom CLI tool with
npm run notion query publishwhere “publish” is a keyword I’m searching for. This tool will print out all entries that has the keyword in its title. -
I copy-paste the ID to another command,
npm run notion fetch 1d60733f-bc61-8078-9303-d0c389822503which downloads the text, metadata and images to my local folder.
All the tooling is built by myself by hand and it’s very specific to my setup and my website.
The flow of operations in the code looks like this:
-
Commander-based
CLI tool looks for the command (
fetch) and passed ID and passes them to a function calledfetchBlogPost -
It initialises
Clientfrom Notion’s official SDK so I can talk directly with the Notion database - It fetches all posts from the Notion database I have for my blog by passing in the Notion Database ID and combines results from all pages of results into an array.
- It finds the correct blog post by going through the blog posts returned by Notion’s API and checking for ID match.
-
It passes the correct post to a function called
processBlogPost. - In that function, I do a lot of cleaning up of data and reformatting it into a desired format. (See below)
- It downloads the images and stores them in a post-specific assets folder.
- It writes the metadata as front matter and the blog post contents as body to a Nunjucks file.
---
title: "How I write and publish blog posts in April 2025"
published: true
description: ""
date: 2025-04-23
layout: layouts/post.njk
image: /how-i-write-and-publish-blog-posts-in-april-2025/how-i-write-and-publish-blog-posts-in-april-2025-cover.png
note: This post was autogenerated from Notion CMS. Don't make content changes here, make them in Notion.
notion_url: https://www.notion.so/How-I-write-and-publish-blog-posts-in-April-2025-1d60733fbc6180789303d0c389822503
notion_post_id: 1d60733f-bc61-8078-9303-d0c389822503
draft: false
canonical: https://hamatti.org/posts/how-i-write-and-publish-blog-posts-in-april-2025/
finnish: false
mastodon_id: ""
tags:
  - indieweb
  - project
  - eleventy
versions:
  -
---
followed up by the contents of the post, rendered as Nunjucks template file.
For that, I use Martin Paucout’s wonderful notion-render library with my own custom renderers. For example, for the images, I have this custom renderer:
const imageRenderer = createBlockRenderer("image", async (data, renderer) => {
  const imageUrl = data.image.file.url;
  const imageName = `${segment}.png`;
  segment += 1;

  const folder = path.join("assets", "img", "posts", currentSlug);

  if (!fs.existsSync(folder)) {
    fs.mkdirSync(folder);
  }
  const file = fs.createWriteStream(path.join(folder, imageName), {
    flags: "w",
  });

  await https.get(imageUrl, (response) => {
    response.pipe(file);

    file.on("finish", () => {
      file.close();
      console.log(`Post image downloaded as ${currentSlug}/${imageName}`);
    });
  });

  return `<img src="${path.join(
    "/",
    "assets",
    "img",
    "posts",
    currentSlug,
    imageName
  )}" alt="${data.image.caption[0]?.plain_text || ""} " /> `;
});
For each “image” block in the response from the API, I download the image into the right folder, following my naming scheme.
I then return an image tag with the source URL and the alt text that I stored in the caption field in Notion.
I love the ability to completely control the processing and formatting for each different block type in Notion. I have other custom renderers for code blocks, video embeds (to add custom cookie consent functionality) and headings (to work around Notion’s limitations) and for the rest, I use the built-in ones in the library.
At this point, I can see the blog post in my local development environment and usually go through steps to verify all images have proper alt texts, all links lead to where they should and that everything looks proper.
I use Eleventy (❤️) as my static site generator and I keep the development server running pretty much at all times on my laptop so when the integration script finishes running, the I can check the blog post right away in my development server. As long as my script puts the files in the right places and the front matter is generated in a correct way, Eleventy takes care of everything else.
Step 4: Build & Publish
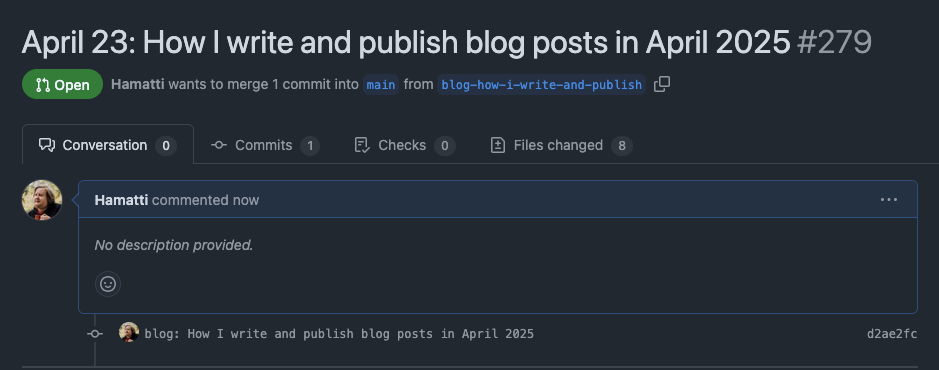
Once I’m happy with the post, I add all the new files to my Git repository with a new commit and push the branch to GitHub.
I add the intended publish date to the start of the title so I can easily find the right posts when I’m ready to publish.
Once I create a pull request, the automations trigger and the website is built and deployed to a staging environment so I can double check everything looks good.
When the day comes that I’m ready to publish, I merge in the pull request, another automation kicks in and builds the site and deploys it to the main server.
I use Netlify as my host. In the Deploy Settings for my page, I’ve set up a custom Webhook that triggers whenever a new version is deployed and I’ve set it up to POST to an endpoint at https://ntfy.sh/ and then I have set up subscription to that endpoint in their mobile app. I get a push notification every time and then I know the deploy is ready and I can share the post. I like the push notification because it removes the need to check multiple times when the post is ready and I can do other stuff meanwhile.
I usually share my posts in a couple of blogging communities as well as Mastodon – and depending on the specifics of the post, in some more specific venues or other social media platforms too.
Similarly to how I use Notion to write anywhere, I like this scheduling style with GitHub because I can easily merge a pull request on the go (or on most Wednesdays, from my bed once I wake up) with my phone or iPad.
Appendix 1: Related posts
One step I forgot to write about is managing related posts with my custom built tool. For some posts, I mark them as related to each other and in the desktop view, I display the related posts on the right sidebar.
I have written about the related posts tool previously so if you’re interested in how that works, check that post out!
If something above resonated with you, let's start a discussion about it! Email me at juhamattisantala at gmail dot com and share your thoughts. This year, I want to have more deeper discussions with people from around the world and I'd love if you'd be part of that.