Building a website with a static site generator, part 1: Setup
Mar 11th, 2020
I like a lot of things, and static site generators are on that list. This blog series is aimed for students and junior developers who want to build a personal website and a blog either as a portfolio, a journal or just a digital home in the highway of the information.
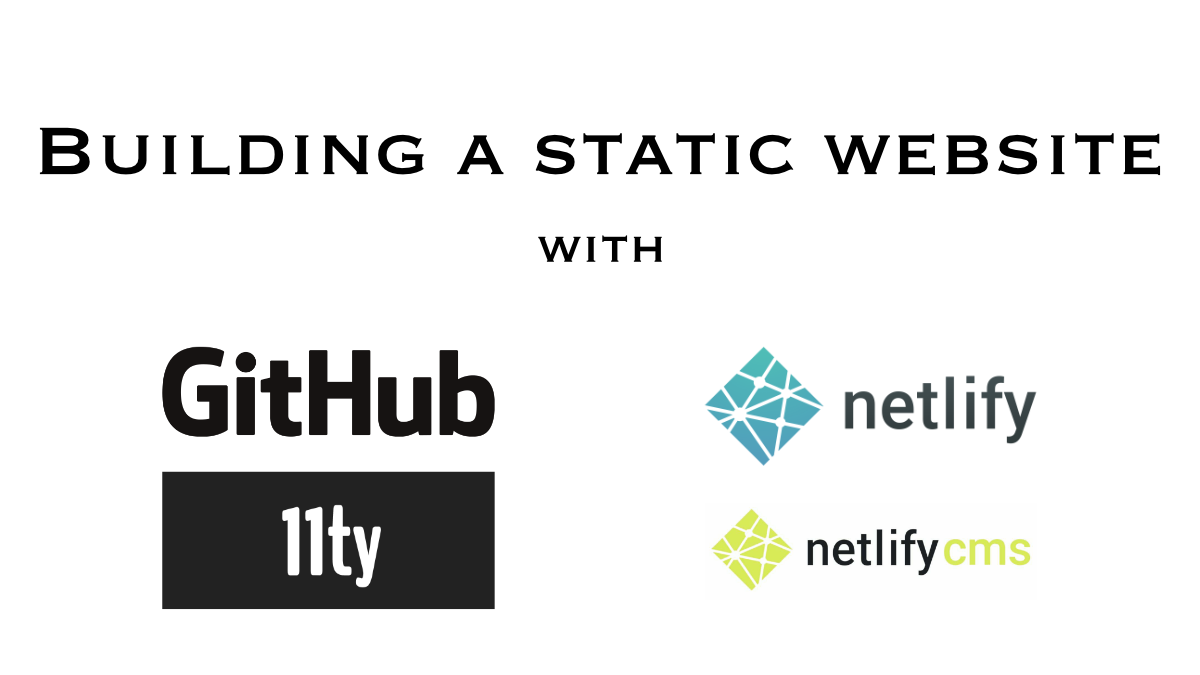
My stack of choice for this one is Eleventy for the static site generator, Netlify CMS for content management, GitHub for hosting your code and Netlify for hosting the website. All of these tools are free to use. We'll build a site that you can update from a web UI and that gets deployed automatically to Netlify whenever you make a change.
For this tutorial series, I expect you to know the basics of HTML, CSS and Javascript. You don't have to be an expert though. Building your own website is a great way to improve all of those skills step by step. I've been doing that for 20 years and every new website project is a platform to educate myself with new things.
In this series:
- Part 1: Building a website with a static site generator, part 1: Setup
- Part 2: Building a website with a static site generator, part 2: Eleventy
- Part 3: Building a website with a static site generator, part 3: Domain, Analytics and Forms
Let's create accounts
If you already have accounts to GitHub and Netlify, you can skip this section.
GitHub
GitHub is a development platform that allows you to store your software projects through version control. In our case, we will store our website code inside it and automatically build the website into Netlify when it gets changed.
I won't walk you through how to use git in this series so if you're not familiar with it, check out GitHub's tutorials.
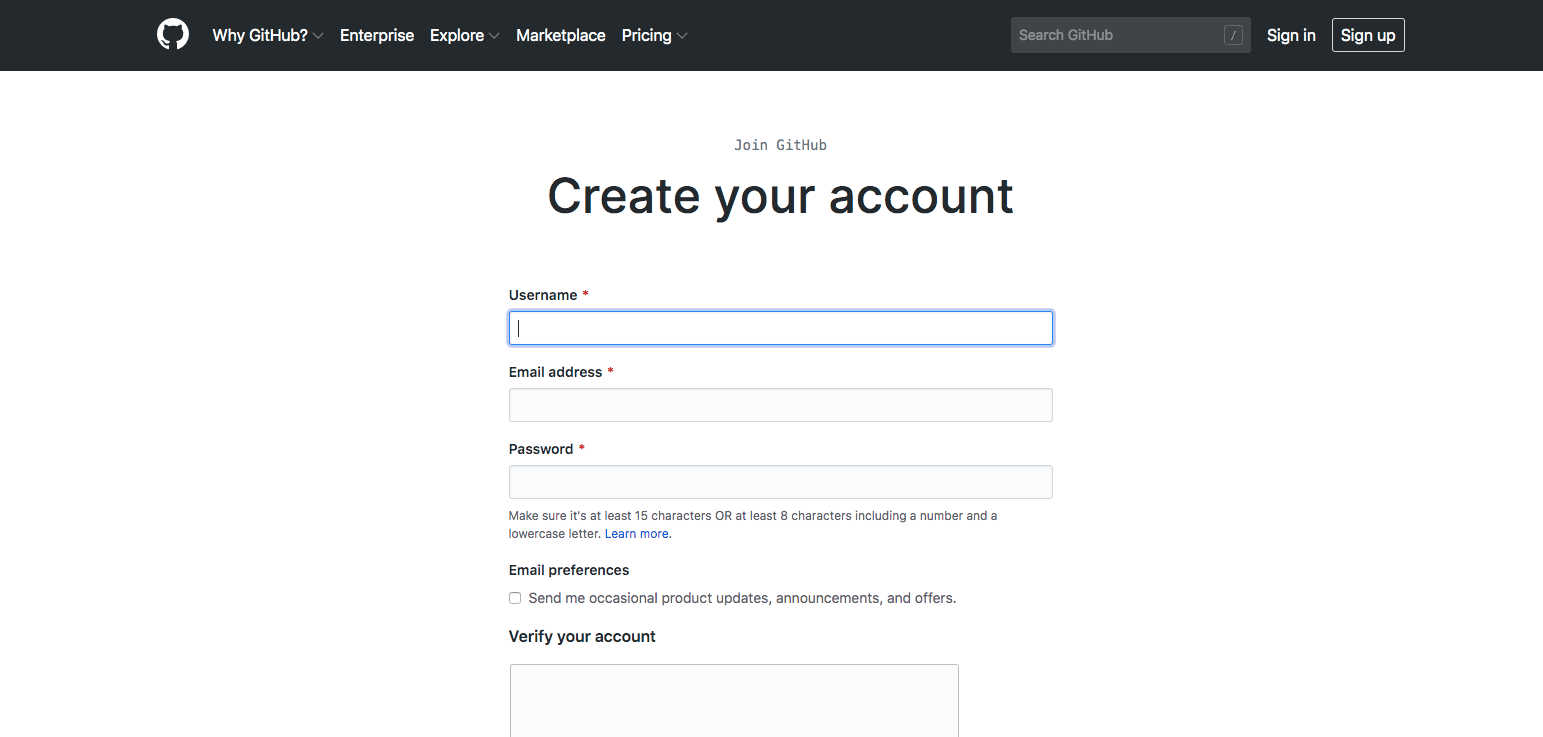
Head over to https://github.com/join and create an account.
Netlify
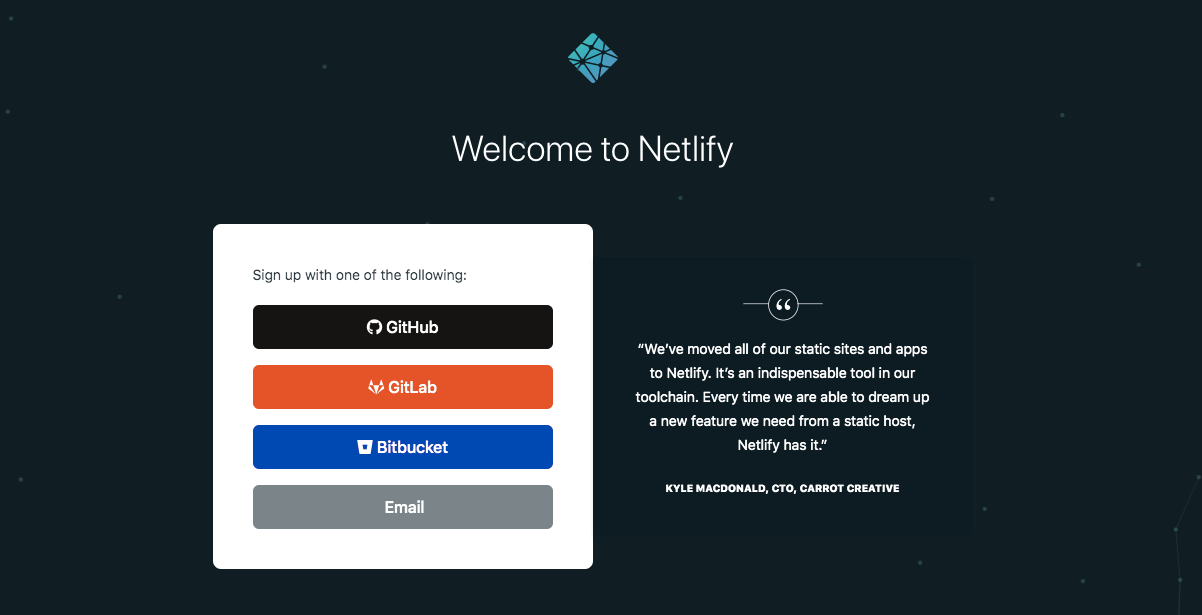
Once you have your Github account, it's time to create an account in Netlify. Head over to https://app.netlify.com/signup and sign up with your freshly created GitHub account.
Let's create repository & Netlify site
New GitHub repository
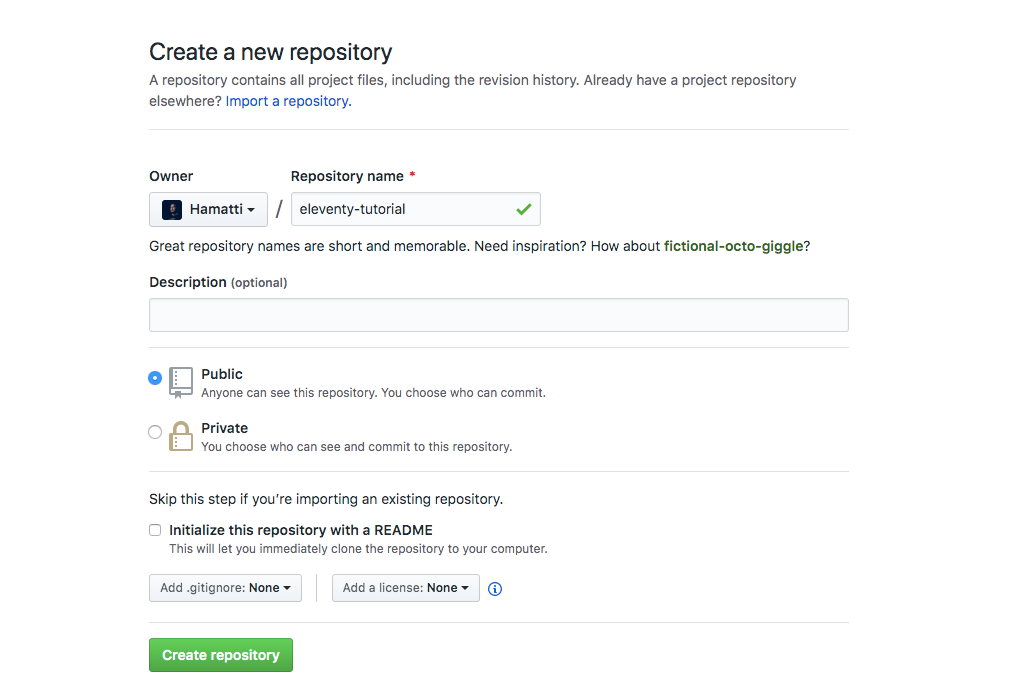
After you have a GitHub account, create a new repository for the website project. You can do that by going to https://github.com/new, giving your project a name (I chose eleventy-tutorial but you can call it my-website or something that helps you know what it is).
New Netlify site
We want to create a new site from git so go to https://app.netlify.com/start and select GitHub as your source. Follow the process of authorizing Netlify on GitHub and select your repository. Make sure your build command is eleventy and your branch is master.
Let's install tools & copy a starter project
On your development computer, open your terminal and navigate to wherever you store your software projects. I have a ~/code folder in my macOS that is the home for all my code projects.
To run Eleventy and Netlify command line tools, we're gonna need Node and npm.
Check if you already have them installed by running
node -v
npm -v
If you don't have Node installed, I recommend using nvm to manager your Node versions. Follow their installation instructions and install Node. Once you have Node installed, it will come with npm so you're gonna be all good. We will also use npx to run commands without installing packages and that's included too.
To get started, we're gonna copy an Eleventy starter project from Eleventy's GitHub: https://github.com/11ty/eleventy-base-blog.
Run git clone git@github.com:11ty/eleventy-base-blog.git my-website and git will download the starter kit for you. Navigate to this new folder with cd my-website.
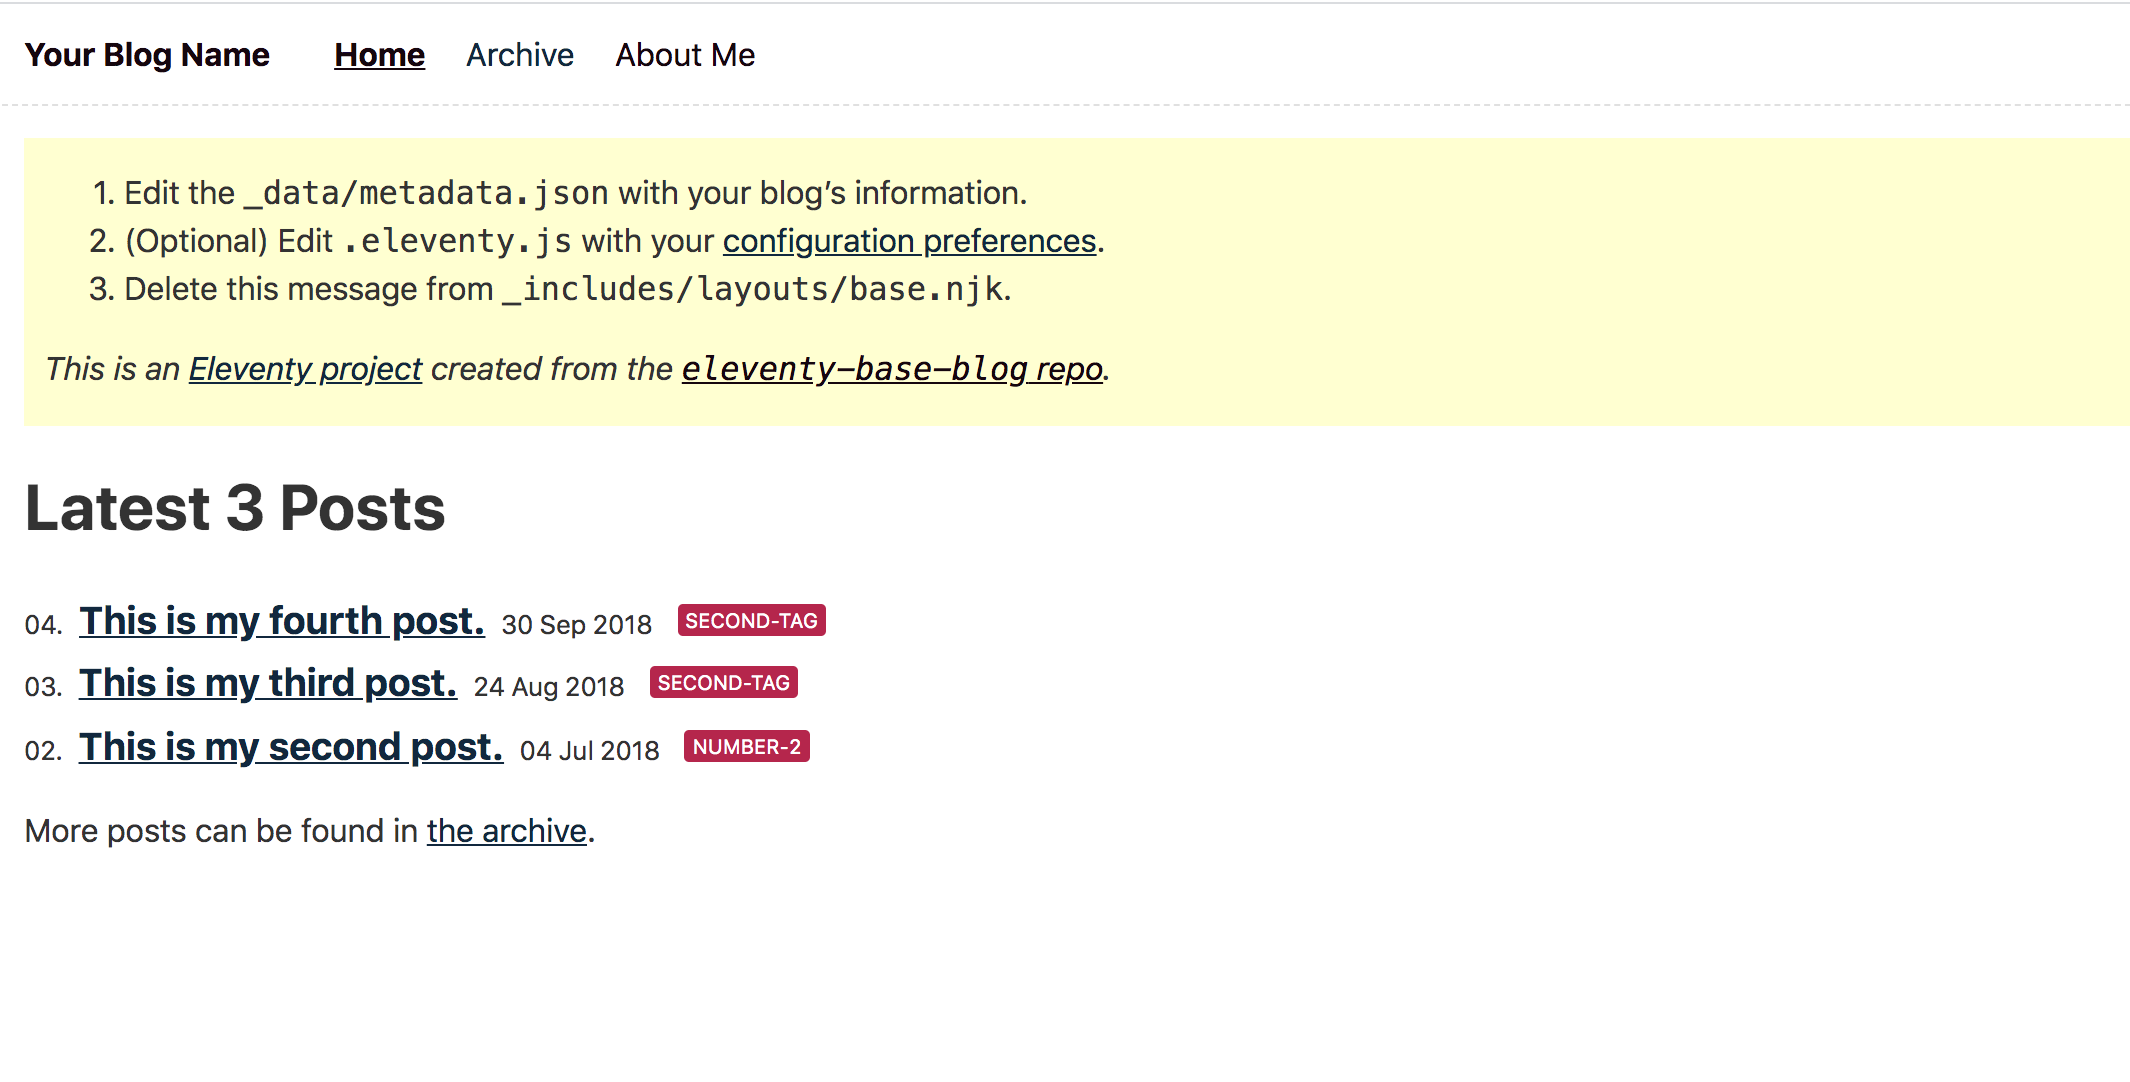
Follow the instructions on that repository's readme file to install packages and once you're done, run npx eleventy --serve to start a development server. If everything goes smoothly, you should be able to open http://localhost:8080 and see a website like this:
Connecting to your GitHub repository
Now go to your new GitHub repository we created earlier and find your GitHub project URL that looks like this: git@github.com:Hamatti/eleventy-tutorial.git if you're using ssh or https://github.com/Hamatti/eleventy-tutorial.git if you're using https.
Let's remove the connection to the starter kit repository by running git remote remove origin and replace it with our by running git remote add origin [your_url] where you replace [your_url] with the one you copied in the previous paragraph.
Now run git push origin master to get your new project into your GitHub repository.
Netlify CMS
Now that we have a working Eleventy project set up, let's integrate Netlify CMS so we can write posts using a Web UI through our website.
First, create a new folder at the root of your project called admin/. Inside it, we need two files: index.html and config.yml.
admin/index.html
<!doctype html>
<html>
<head>
  <meta charset="utf-8" />
  <meta name="viewport" content="width=device-width, initial-scale=1.0" />
  <title>Content Manager</title>
</head>
<body>
  <!-- Include the script that builds the page and powers Netlify CMS -->
  <script src="https://unpkg.com/netlify-cms@^2.0.0/dist/netlify-cms.js"></script>
</body>
</html>
admin/config.yml
backend:
  name: git-gateway
  branch: master # Branch to update (optional; defaults to master)
publish_mode: editorial_workflow
media_folder: "images/uploads"
collections:
  ‐ name: "posts" # Used in routes, e.g., /admin/collections/blog
    label: "Posts" # Used in the UI
    folder: "posts" # The path to the folder where the documents are stored
    create: true # Allow users to create new documents in this collection
    slug: "---" # Filename template, e.g., YYYY-MM-DD-title.md
    fields: # The fields for each document, usually in front matter
      ‐ { label: "Layout", name: "layout", widget: "hidden", default: "post" }
      ‐ { label: "Title", name: "title", widget: "string" }
      ‐ { label: "Publish Date", name: "date", widget: "datetime" }
      ‐ { label: "Featured Image", name: "thumbnail", widget: "image" }
      ‐ { label: "Body", name: "body", widget: "markdown" }
There are many options and ways to configure your NetlifyCMS. This one adds one collection called Posts with fields for title, publish date, featured image and body. Once you figure out what you want, you can adjust these. Find out more options in Configuration documentation page.
Finally, we need to add a single line in our .eleventy.js file.
Find the lines
eleventyConfig.addPassthroughCopy("img");
eleventyConfig.addPassthroughCopy("css");
and add a line
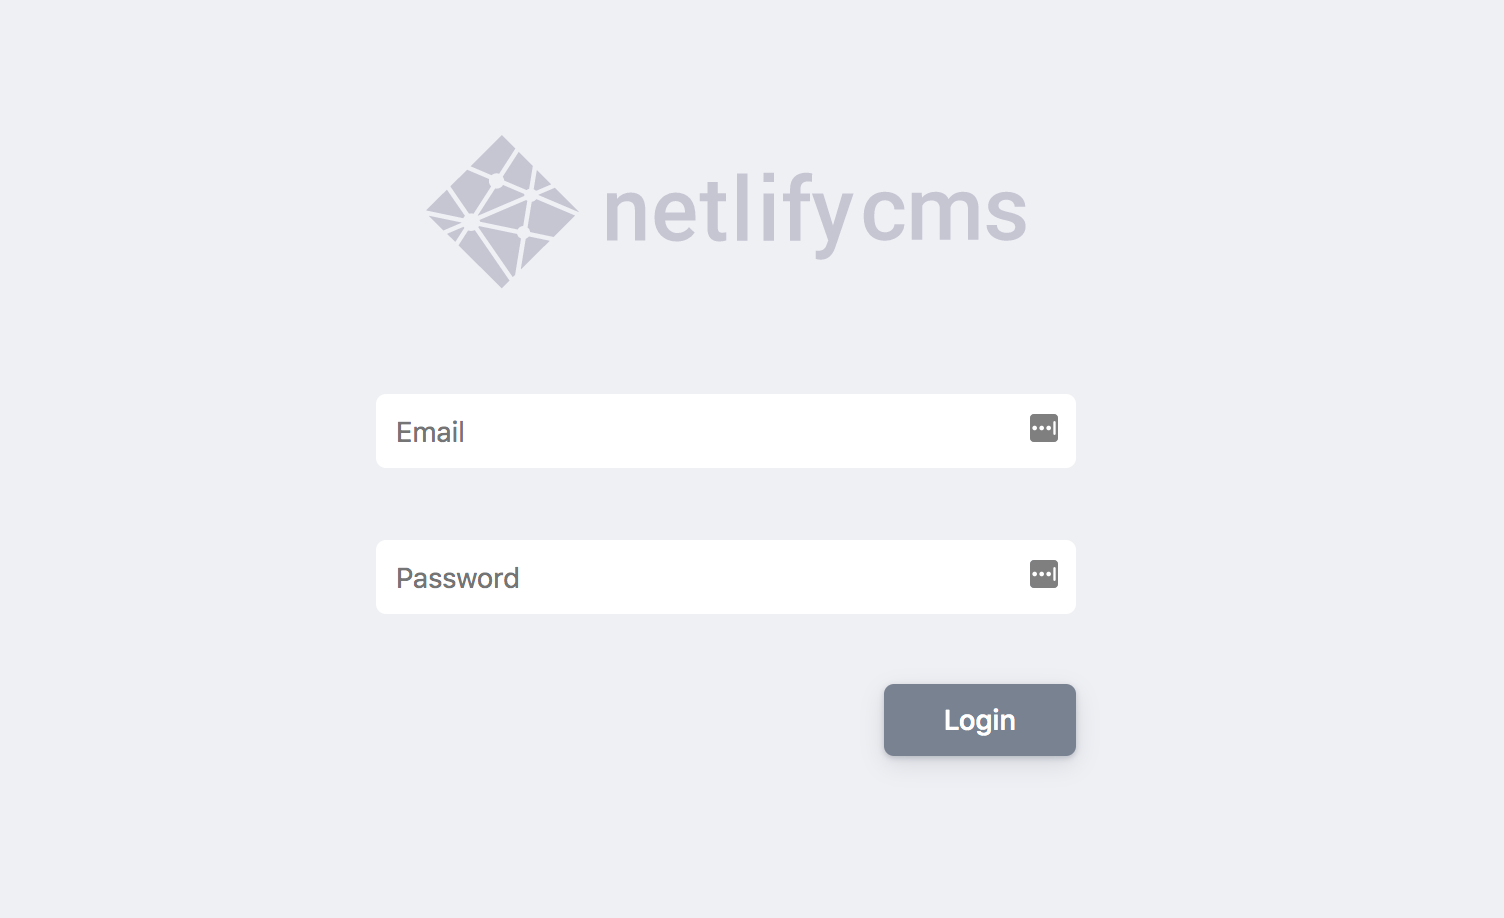
eleventyConfig.addPassthroughCopy("admin");after them. Now if run npx eleventy --serve and navigate to http://localhost:8080/admin/, you should see a login page:
Netlify Identity
We don't want everyone to be able to login to our CMS and make changes so we need to add authentication. Netlify has built-in auth and we're gonna use it.
Code changes
First, we need to add a couple of Javascript scripts to our layouts so that we can authenticate:
In _includes/layouts/base.njk,
- add
<script src="https://identity.netlify.com/v1/netlify-identity-widget.js"></script>inside your<head>tag - and the following script right before
</body>:
<script>
if (window.netlifyIdentity) {
  window.netlifyIdentity.on("init", user => {
    if (!user) {
      window.netlifyIdentity.on("login", () => {
        document.location.href = "/admin/";
      });
    }
  });
}
</script>
In admin/index.html, you need to
- add
<script src="https://identity.netlify.com/v1/netlify-identity-widget.js">inside the<head>tag.
Enabling Netlify Identity
Go to Identity tab in Netlify and click Enable button.
In the Identity settings, go to Services->Git Gateway and enable that (you need to auth Netlify again with GitHub) and you're good to continue.
Add your changes to git with git add . && git commit -m "Add NetlifyCMS" and push it to GitHub git push origin master.
Once the newest changes have been deployed (you can always check that from Deploys tab), go back to Netlify Identity page and invite yourself as a user. Then go to your email, accept the invite and you should be greeted with a form to set up your password. After this, you'll be redirected to the admin page.
Our first blog post
Now create a new blog post with some content and click save. Two things will happen:
(1) It will create a new pull request to your GitHub repository and (2) this will trigger a preview build in Netlify. In Github, you can see links and the last one (netlify/[yoursitename]/deploy-preview — Deploy preview ready!) will take you to see the changes before you deploy them. If everything looks good, go ahead and click Merge Pull Request. This will in turn trigger the main build in Netlify and once it's done (you can follow it from Deploys page in Netlify), your new post is live!
With today's work, we have set up a GitHub repository, Netlify project, created a new Eleventy site, integrated NetlifyCMS and deployed all of this. You can now start blogging.
Next steps
The best way to learn is to tinker with something you have. So now that we have set up the basics, take some time to write posts, experiment with different formatting options in the CMS and maybe give it a try to add another collection to your admin/config.yml by following the docs.
In the next post, we're gonna learn how to customize Eleventy so we can decide what things look like and how we can customize things.
If you liked this post, why not check out other posts in my blog, my Debugging Web Apps guide or follow me on Twitter. See you next time!
If something above resonated with you, let's start a discussion about it! Email me at juhamattisantala@gmail.com and share your thoughts. This year, I want to have more deeper discussions with people from around the world and I'd love if you'd be part of that.